Tutorial: Edit a file using the Web Editor
- Tier: Free, Premium, Ultimate
- Offering: GitLab.com, GitLab Self-Managed, GitLab Dedicated
Project files may be edited by team members who have appropriate access.
Learn how to edit an individual file directly in the GitLab UI using the simple Web Editor.
Select the file you wish to edit
First, go to the project home page to get a list of files in the project.
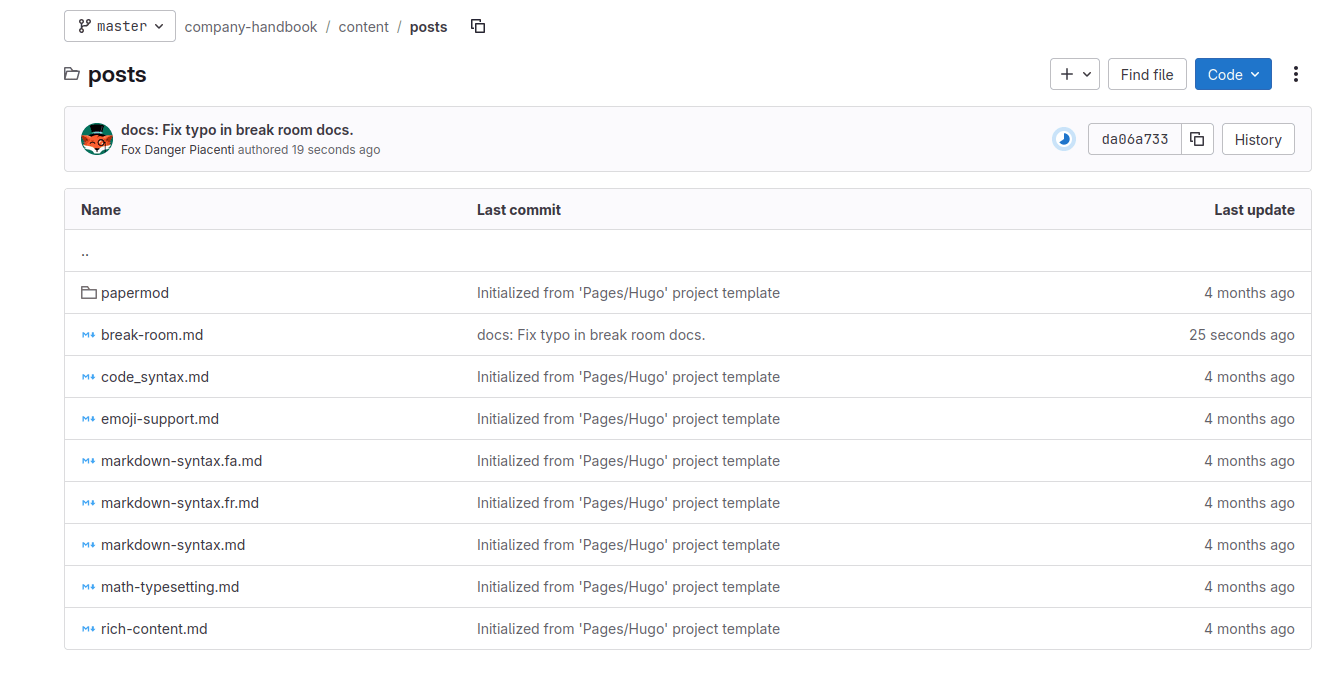
Select any file to view its details.
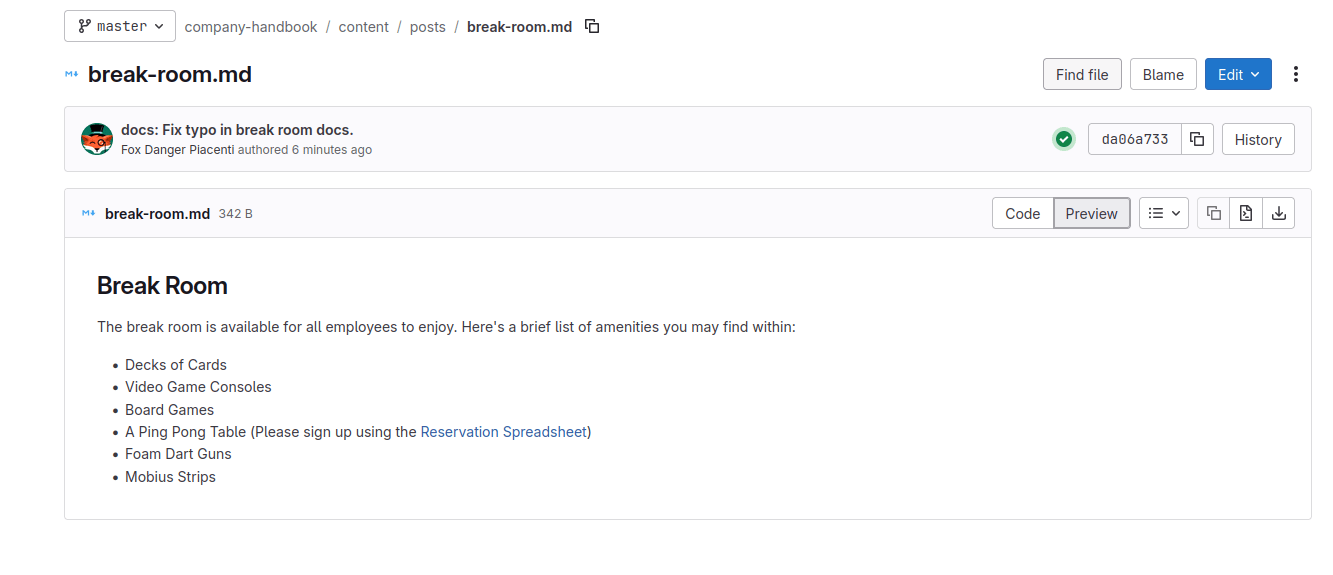
Edit the file
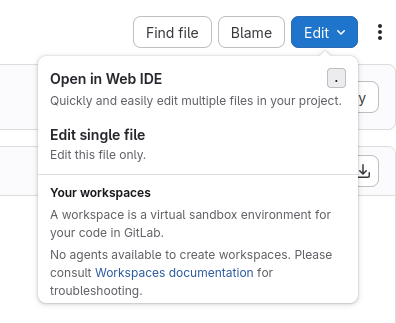
Select the Edit dropdown list, and then select Edit single file.
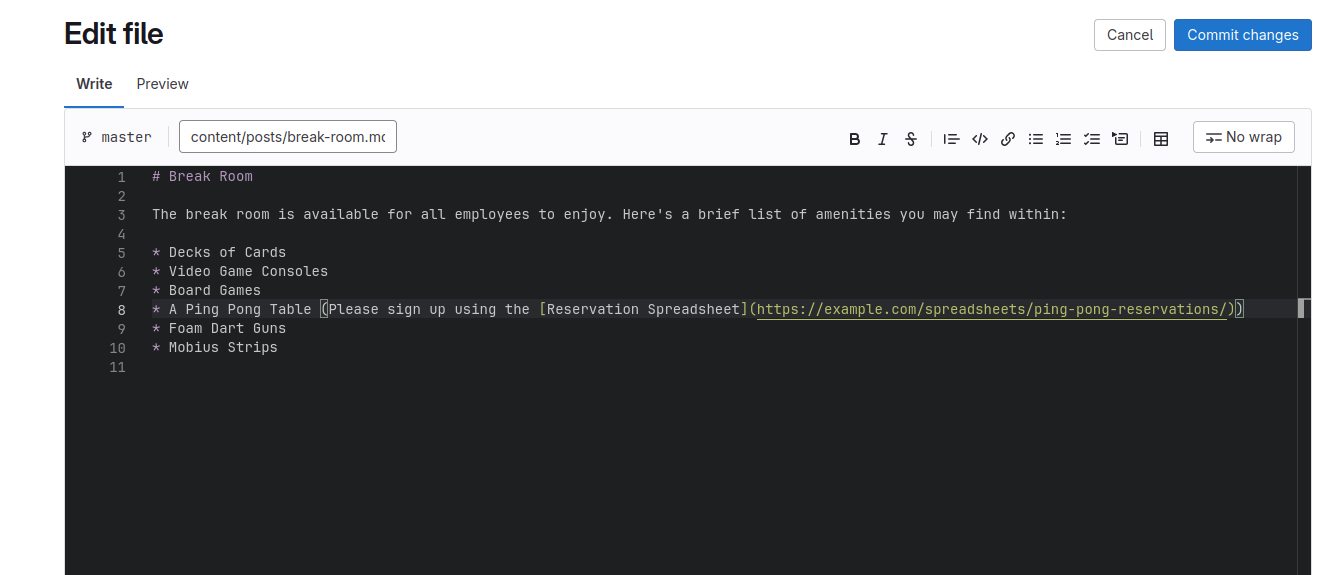
In the editor, make your edits to the file as needed.
Commit your changes and create a merge request
It is possible to commit (save) your changes directly to the file. However, this is not recommended for most teams, as it is good practice to first have your changes reviewed by a team member. In this step, you’ll create a branch and merge request with the new changes.
After you have finished editing:
- Select Commit changes.
- Fill in the commit message text box with a description of your changes.
- Under Branch, select Commit to a new branch.
- Under Commit to a new branch, enter a name for your new branch or leave the automatically generated one provided for you.
- Make sure Create a merge request for this change is selected.
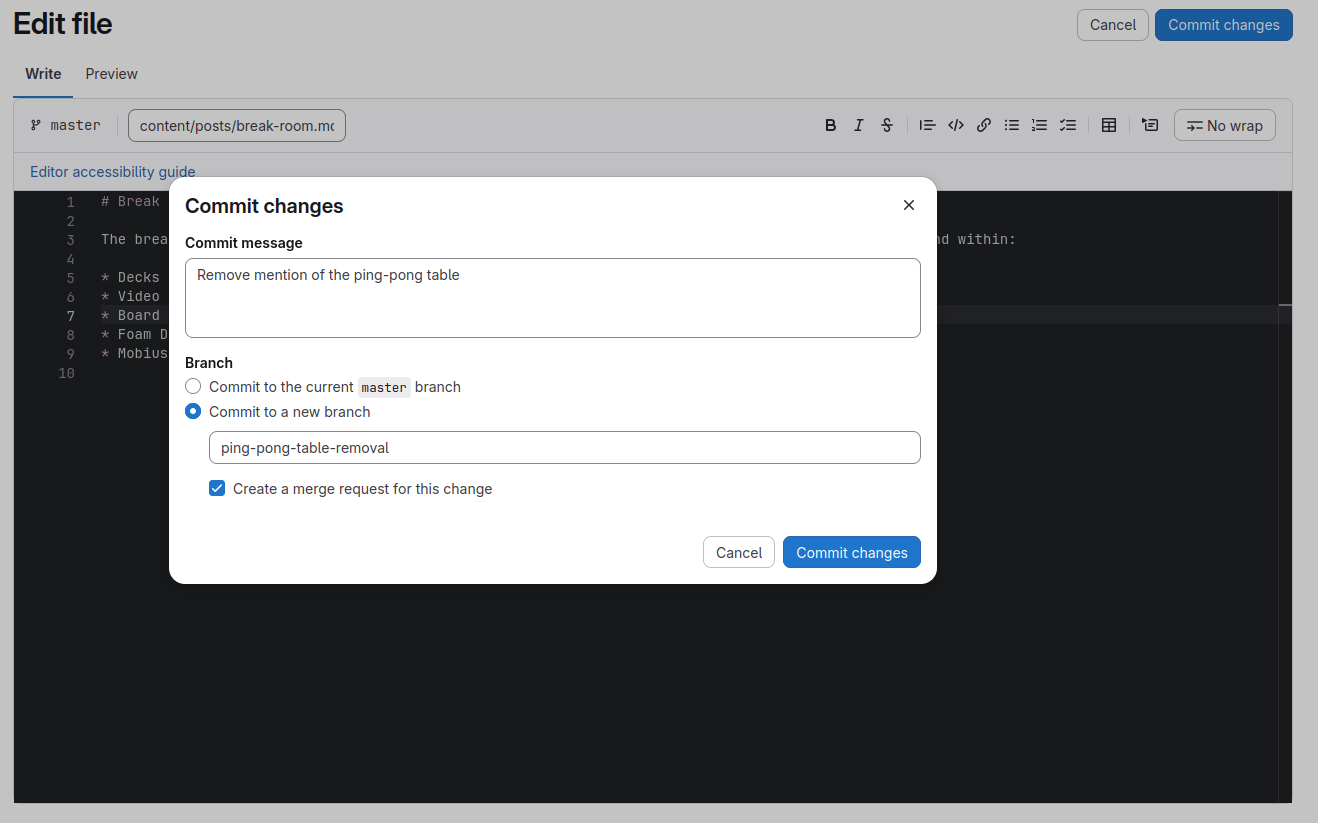
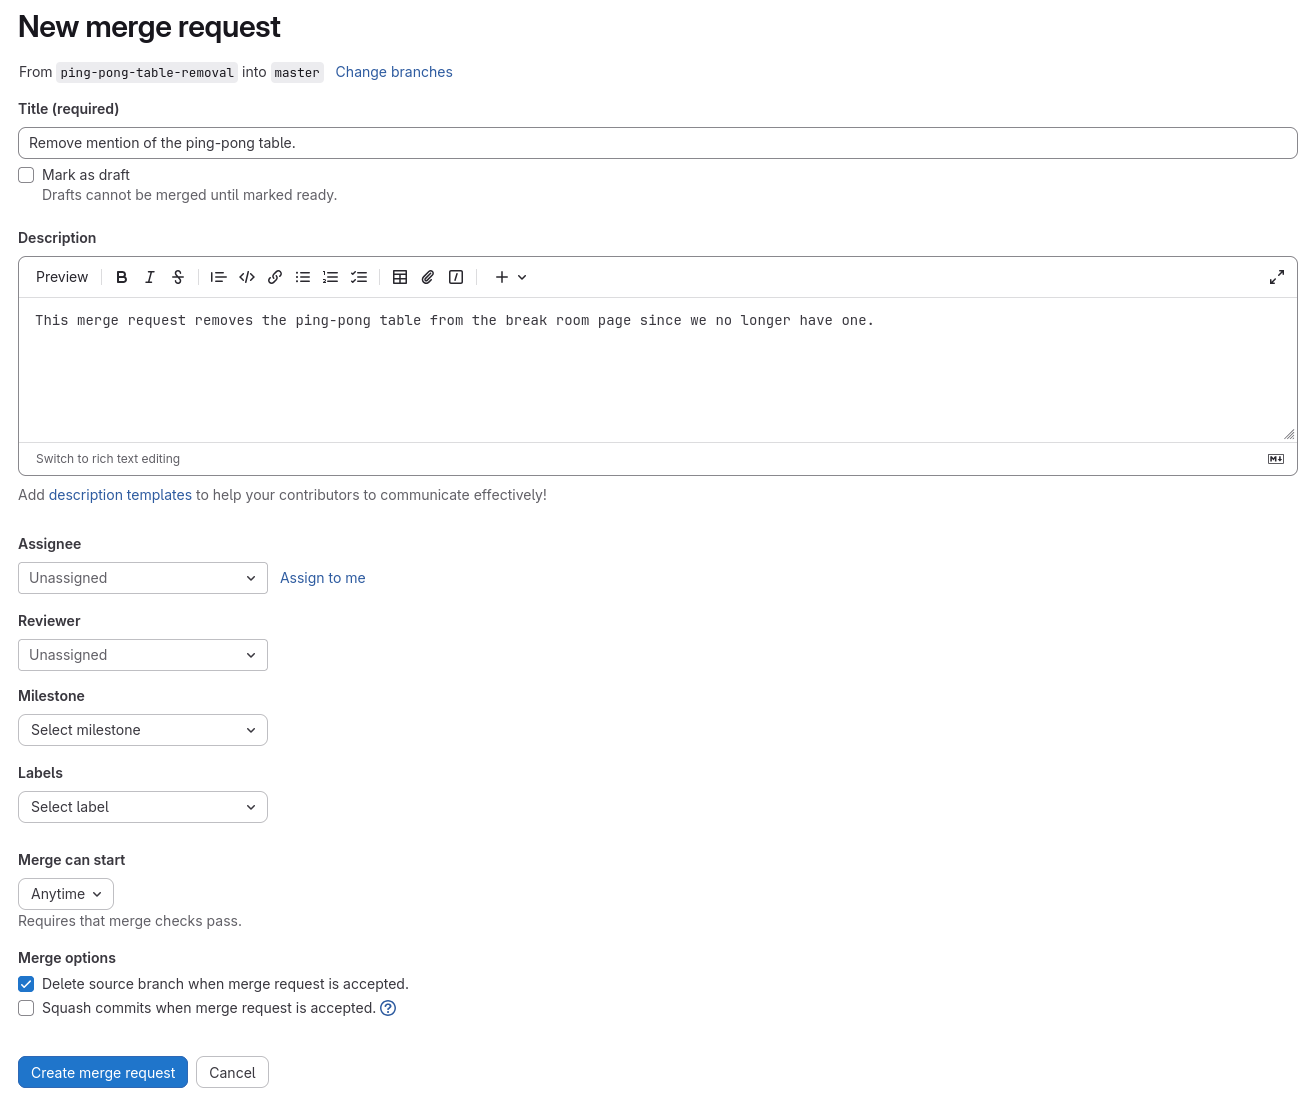
Finally, select Commit changes to commit your changes to the new branch. The new merge request form appears. To create the request, do the following:
- Set the Title to an appropriate summary of the changes.
- Put more details about your changes in the Description field.
- Set the Assignee to yourself.
- If you know who should review your changes, set the Reviewer.
- Optional. Set the milestone of your merge request.
- Optional. Set labels for your merge request to better categorize it.
- Select Create merge request to create your merge request.
Your edits are now in a merge request, and ready to be reviewed by another contributor.
Next steps
Next you can:
- Review someone else’s merge request
- Create an issue on your existing project