Tutorial: Create an issue in an existing project
- Tier: Free, Premium, Ultimate
- Offering: GitLab.com, GitLab Self-Managed, GitLab Dedicated
An issue tracks a task, problem, or planned feature in your project. Issues are used to plan work and ask for help. Issues can track any task, not just bugs or problems.
Learn how to view all the open issues in your project, and create a new one to report a problem you noticed.
Open the issues list
First, browse through the open issues the project. This way, you can see if there is an existing issue for the problem you noticed.
In your project, in the left sidebar, select Plan > Issues.
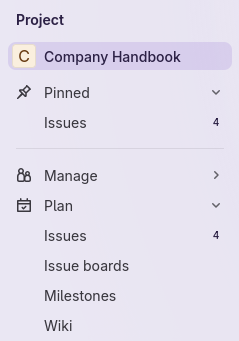
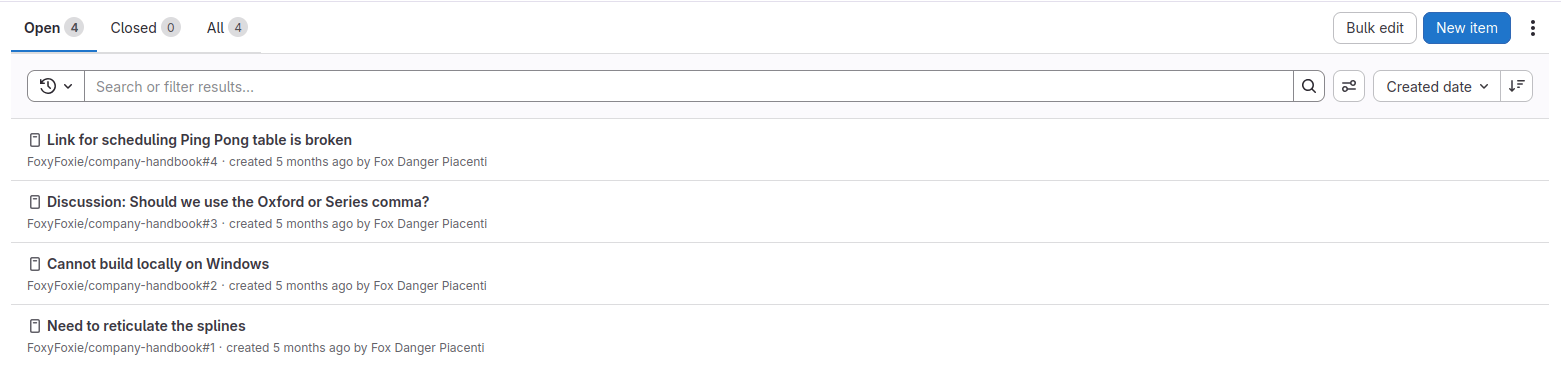
A list of all open issues appears:
Create a new issue
You don’t find any existing issues that describe the bug you noticed, so in this step, you’ll create a new one.
In the upper-right, select New item.
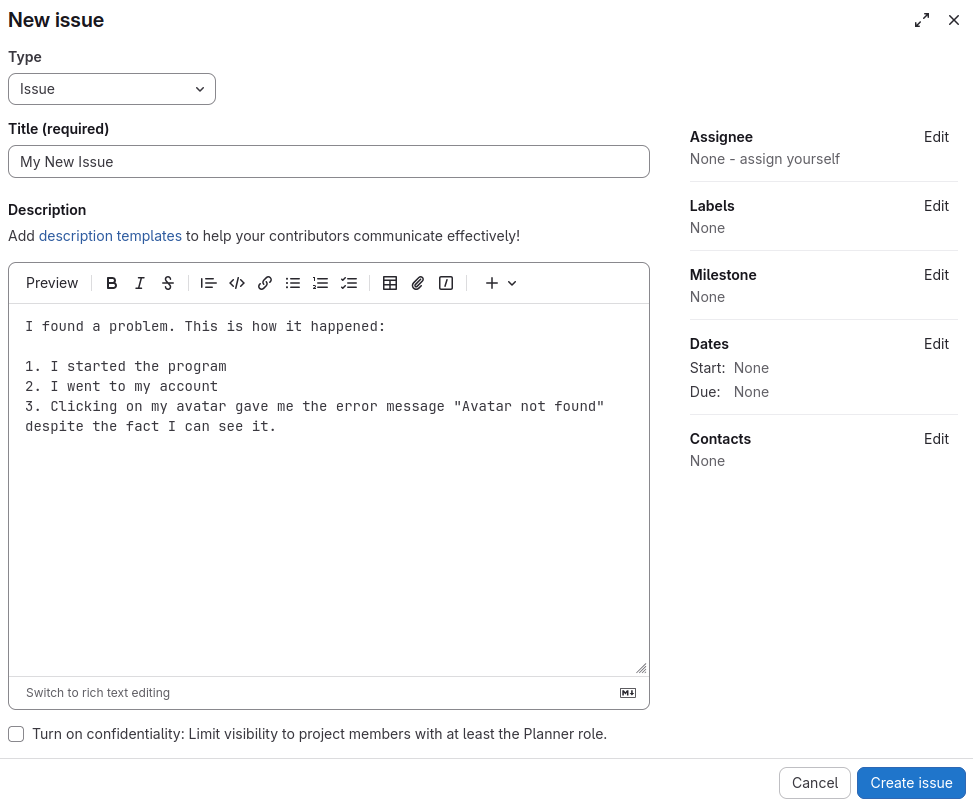
- Select the Type of the issue, or use the default, Issue.
- Give your new issue a title to summarize it.
- Add a description of the work to be performed, the idea to be transcribed, or the bug you found.
- If you know who in the project should be assigned this task, set the Assignee field. Select assign yourself if you intend to work on this issue.
- You may additionally select labels to better categorize your issue.
- Select a milestone if applicable.
- Optional. Fill in the Dates fields to specify when this task is intended to begin and end.
- Optional. Set the Contacts to tag additional team members or stakeholders who should be consulted on this task.
- Select Create issue to finish creating the new issue. The revised issue list appears with the new issue included.

Next steps
Next you can:
- Visit, update, and comment on your issue.
- Work with issues as a Kanban Board.
- Learn how to perform issue triage.