- What to test
- Selenium and WebdriverIO
- Writing tests
- Running locally
- Configuring GitLab CI/CD
- What’s next
End-to-end testing with GitLab CI/CD and WebdriverIO
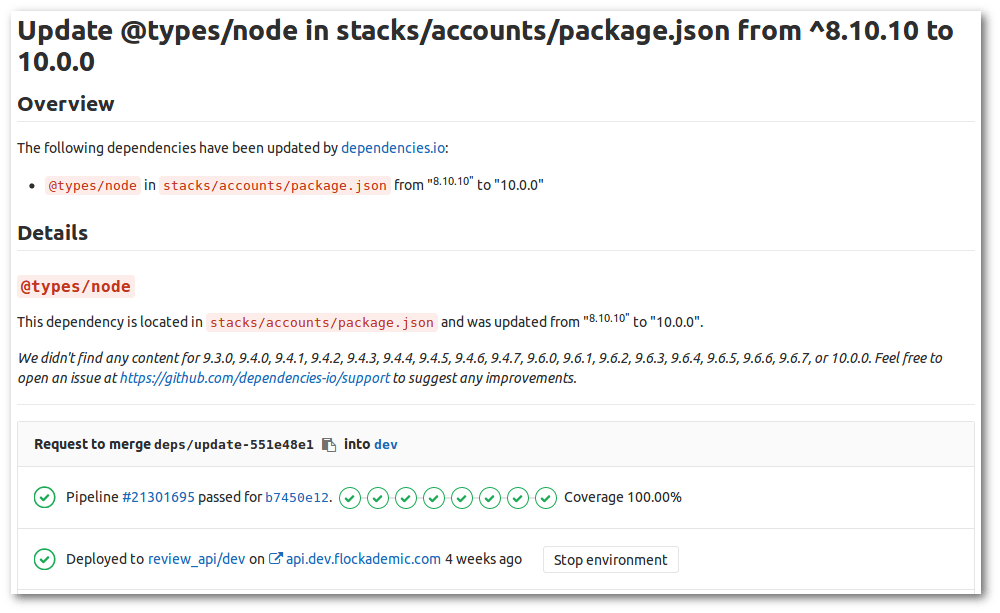
Review apps are great: for every merge request (or branch, for that matter), the new code can be copied and deployed to a fresh production-like live environment, reducing the effort to assess the impact of changes. Thus, when we use a dependency manager like Dependencies.io, it can submit a merge request with an updated dependency, and it will immediately be clear that the application can still be properly built and deployed. After all, you can see it running!
However, looking at the freshly deployed code to check whether it still looks and behaves as expected is repetitive manual work, which means it is a prime candidate for automation. This is where automated end-to-end testing comes in: having the computer run through a few simple scenarios that requires the proper functioning of all layers of your application, from the frontend to the database.
In this article, we will discuss how
to write such end-to-end tests, and how to set up GitLab CI/CD to automatically run these tests
against your new code, on a branch-by-branch basis. For the scope of this article, we will walk you
through the process of setting up GitLab CI/CD for end-to-end testing JavaScript-based applications
with WebdriverIO, but the general strategy should carry over to other languages.
We assume you are familiar with GitLab, GitLab CI/CD, review apps, and running your app locally, for example, on localhost:8000.
What to test
In the widely-used testing pyramid strategy, end-to-end tests act more like a safeguard: most of your code should be covered by unit tests that allow you to easily identify the source of a problem, should one occur. Rather, you will likely want to limit the number of end-to-end tests to just enough to give you the confidence that the deployment went as intended, that your infrastructure is up and running, and that your units of code work well together.
Selenium and WebdriverIO
Selenium is a piece of software that can control web browsers, for example, to make them visit a specific URL or interact with elements on the page. It can be programmatically controlled from a variety of programming languages. In this article we’re going to be using the WebdriverIO JavaScript bindings, but the general concept should carry over pretty well to other programming languages supported by Selenium.
Writing tests
You can write tests using several testing frameworks supported by WebdriverIO. We will be using Jasmine here:
describe('A visitor without account', function(){
    it('should be able to go to the homepage from the 404 page', function(){
        browser.url('/page-that-does-not-exist');

        expect(browser.getUrl()).toMatch('page-that-does-not-exist');

        browser.element('.content a[href="/"]').click();

        expect(browser.getUrl()).not.toMatch('page-that-does-not-exist');
    });
});
The functions describe, it, and browser are provided by WebdriverIO. Let’s break them down one by one.
The function describe allows you to group related tests. This can be useful if, for example, you want to
run the same initialization commands (using beforeEach) for
multiple tests, such as making sure you are logged in.
The function it defines an individual test.
The browser object is WebdriverIO’s
special sauce. It provides most of the WebdriverIO API methods that are the key to
steering the browser. In this case, we can use
browser.url to visit /page-that-does-not-exist to
hit our 404 page. We can then use browser.getUrl
to verify that the current page is indeed at the location we specified. To interact with the page,
we can pass CSS selectors to
browser.element to get access to elements on the
page and to interact with them - for example, to select the link back to the home page.
The simple test shown above can already give us a lot of confidence if it passes: we know our deployment has succeeded, that the elements are visible on the page and that actual browsers can interact with it, and that routing works as expected. And all that in just 10 lines with gratuitous whitespace! Add to that succeeding unit tests and a successfully completed pipeline, and you can be fairly confident that the dependency upgrade did not break anything without even having to look at your website.
Running locally
We’ll get to running the above test in CI/CD in a moment. When writing tests, however, it helps if you don’t have to wait for your pipelines to succeed to determine whether they do what you expect them to do. In other words, let’s get it to run locally.
Make sure that your app is running locally. If you use Webpack, you can use the Webpack Dev Server WebdriverIO plugin that automatically starts a development server before executing the tests.
The WebdriverIO documentation has
an overview of all configuration options, but the
easiest way to get started is to start with
WebdriverIO’s default configuration, which
provides an overview of all available options. The two options that are going to be most relevant now are the
specs option, which is an array of paths to your tests, and the baseUrl option, which points to where your app is
running. And finally, we will need to tell WebdriverIO in which browsers we would like to run our
tests. This can be configured through the capabilities option, which is an array of browser names (for example,
firefox or chrome). It is recommended to install
selenium-assistant to detect all installed
browsers:
  const seleniumAssistant = require('selenium-assistant');
  const browsers = seleniumAssistant.getLocalBrowsers();
  config.capabilities = browsers.map(browser => ({ browserName: browser.getId() }));
But of course, a simple configuration of config.capabilities = ['firefox'] would work as well.
If you’ve installed WebdriverIO as a dependency
(npm install --save-dev webdriverio), you can add a line to the scripts property in your
package.json that runs wdio with the path to your configuration file as value, for example:
"confidence-check": "wdio wdio.conf.js",
You can then execute the tests using npm run confidence-check, after which you will actually see a
new browser window interacting with your app as you specified.
Configuring GitLab CI/CD
Which brings us to the exciting part: how do we run this in GitLab CI/CD? There are two things we need to do for this:
- Set up CI/CD jobs that actually have a browser available.
- Update our WebdriverIO configuration to use those browsers to visit the review apps.
For the scope of this article, we’ve defined an additional CI/CD stage
confidence-check that is executed after the stage that deploys the review app. It uses the node:latest
Docker image. However, WebdriverIO fires up actual browsers
to interact with your application, so we need to install and run them.
Furthermore, WebdriverIO uses Selenium as a common interface to control different browsers,
so we need to install and run Selenium as well. Luckily, the Selenium project provides the Docker images for Firefox
standalone-firefox and
and for Chrome standalone-chrome.
(Since Safari and Internet Explorer/Edge are not open source and
not available for Linux, we are unfortunately unable to use those in GitLab CI/CD).
GitLab CI/CD makes it a breeze to link these images to our confidence-check jobs using the
services property, which makes the Selenium server available under a hostname based on the image name.
Hostnames with underscores are not RFC valid and may cause problems in third-party applications. For more information, see Accessing the services.
For example, our job configuration for Firefox looks something like this:
e2e:firefox:
  stage: confidence-check
  services:
    - selenium/standalone-firefox
  script:
    - npm run confidence-check --host=selenium__standalone-firefox
And likewise for Chrome:
e2e:chrome:
  stage: confidence-check
  services:
    - selenium/standalone-chrome
  script:
    - npm run confidence-check --host=selenium__standalone-chrome
Now that we have a job to run the end-to-end tests in, we need to tell WebdriverIO how to connect to
the Selenium servers running alongside it. We’ve already cheated a bit above by
passing the value of the host
option as an argument to npm run confidence-check on the command line.
However, we still need to tell WebdriverIO which browser is available for it to use.
GitLab CI/CD makes
a number of variables available
with information about the current CI job. We can use this information to dynamically set
up our WebdriverIO configuration according to the job that is running. More specifically, we can
tell WebdriverIO what browser to execute the test on depending on the name of the currently running
job. We can do so in WebdriverIO’s configuration file, which we named wdio.conf.js above:
if(process.env.CI_JOB_NAME) {
    dynamicConfig.capabilities = [
        { browserName: process.env.CI_JOB_NAME === 'e2e:chrome' ? 'chrome' : 'firefox' },
    ];
}
Likewise, we can tell WebdriverIO where the review app is running - in this example’s case, it’s on
<branch name>.flockademic.com:
if(process.env.CI_COMMIT_REF_SLUG) {
    dynamicConfig.baseUrl = `https://${process.env.CI_COMMIT_REF_SLUG}.flockademic.com`;
}
And we can make sure our local-specific configuration is only used when not running in CI using
if (!process.env.CI). That’s basically all the ingredients you need to run your end-to-end tests
on GitLab CI/CD!
To recap, our .gitlab-ci.yml configuration file looks something like this:
default:
  image: node:8.10

stages:
  - deploy
  - confidence-check

deploy_terraform:
  stage: deploy
  script:
    # Your Review App deployment scripts - for a working example please check https://gitlab.com/Flockademic/Flockademic/blob/5a45f1c2412e93810fab50e2dab8949e2d0633c7/.gitlab-ci.yml#L315
    - echo
  environment: production

e2e:firefox:
  stage: confidence-check
  services:
    - selenium/standalone-firefox
  script:
    - npm run confidence-check --host=selenium__standalone-firefox

e2e:chrome:
  stage: confidence-check
  services:
    - selenium/standalone-chrome
  script:
    - npm run confidence-check --host=selenium__standalone-chrome
What’s next
If you are setting this up for yourself and want to peek at the working configuration of a production project, see:
There’s plenty more that WebdriverIO can do. For example, you can configure a screenshotPath to tell WebdriverIO to take
a screenshot when tests are failing. Then tell GitLab CI/CD to store those
artifacts, and you’ll be able to see what went
wrong within GitLab.